It’s becoming quite common for web developer blogs that show up on the front page of Hacker News to not have an RSS feed. This feels like a step backwards. I know RSS usage is not what it once was, but it seems like something you should get for free. Blogging platforms like WordPress (currently 43% of all websites) and even Mastodon support RSS out of the box. The Next.js blog demo automatically builds an RSS feed. There are popular RSS feed generator packages for every language.
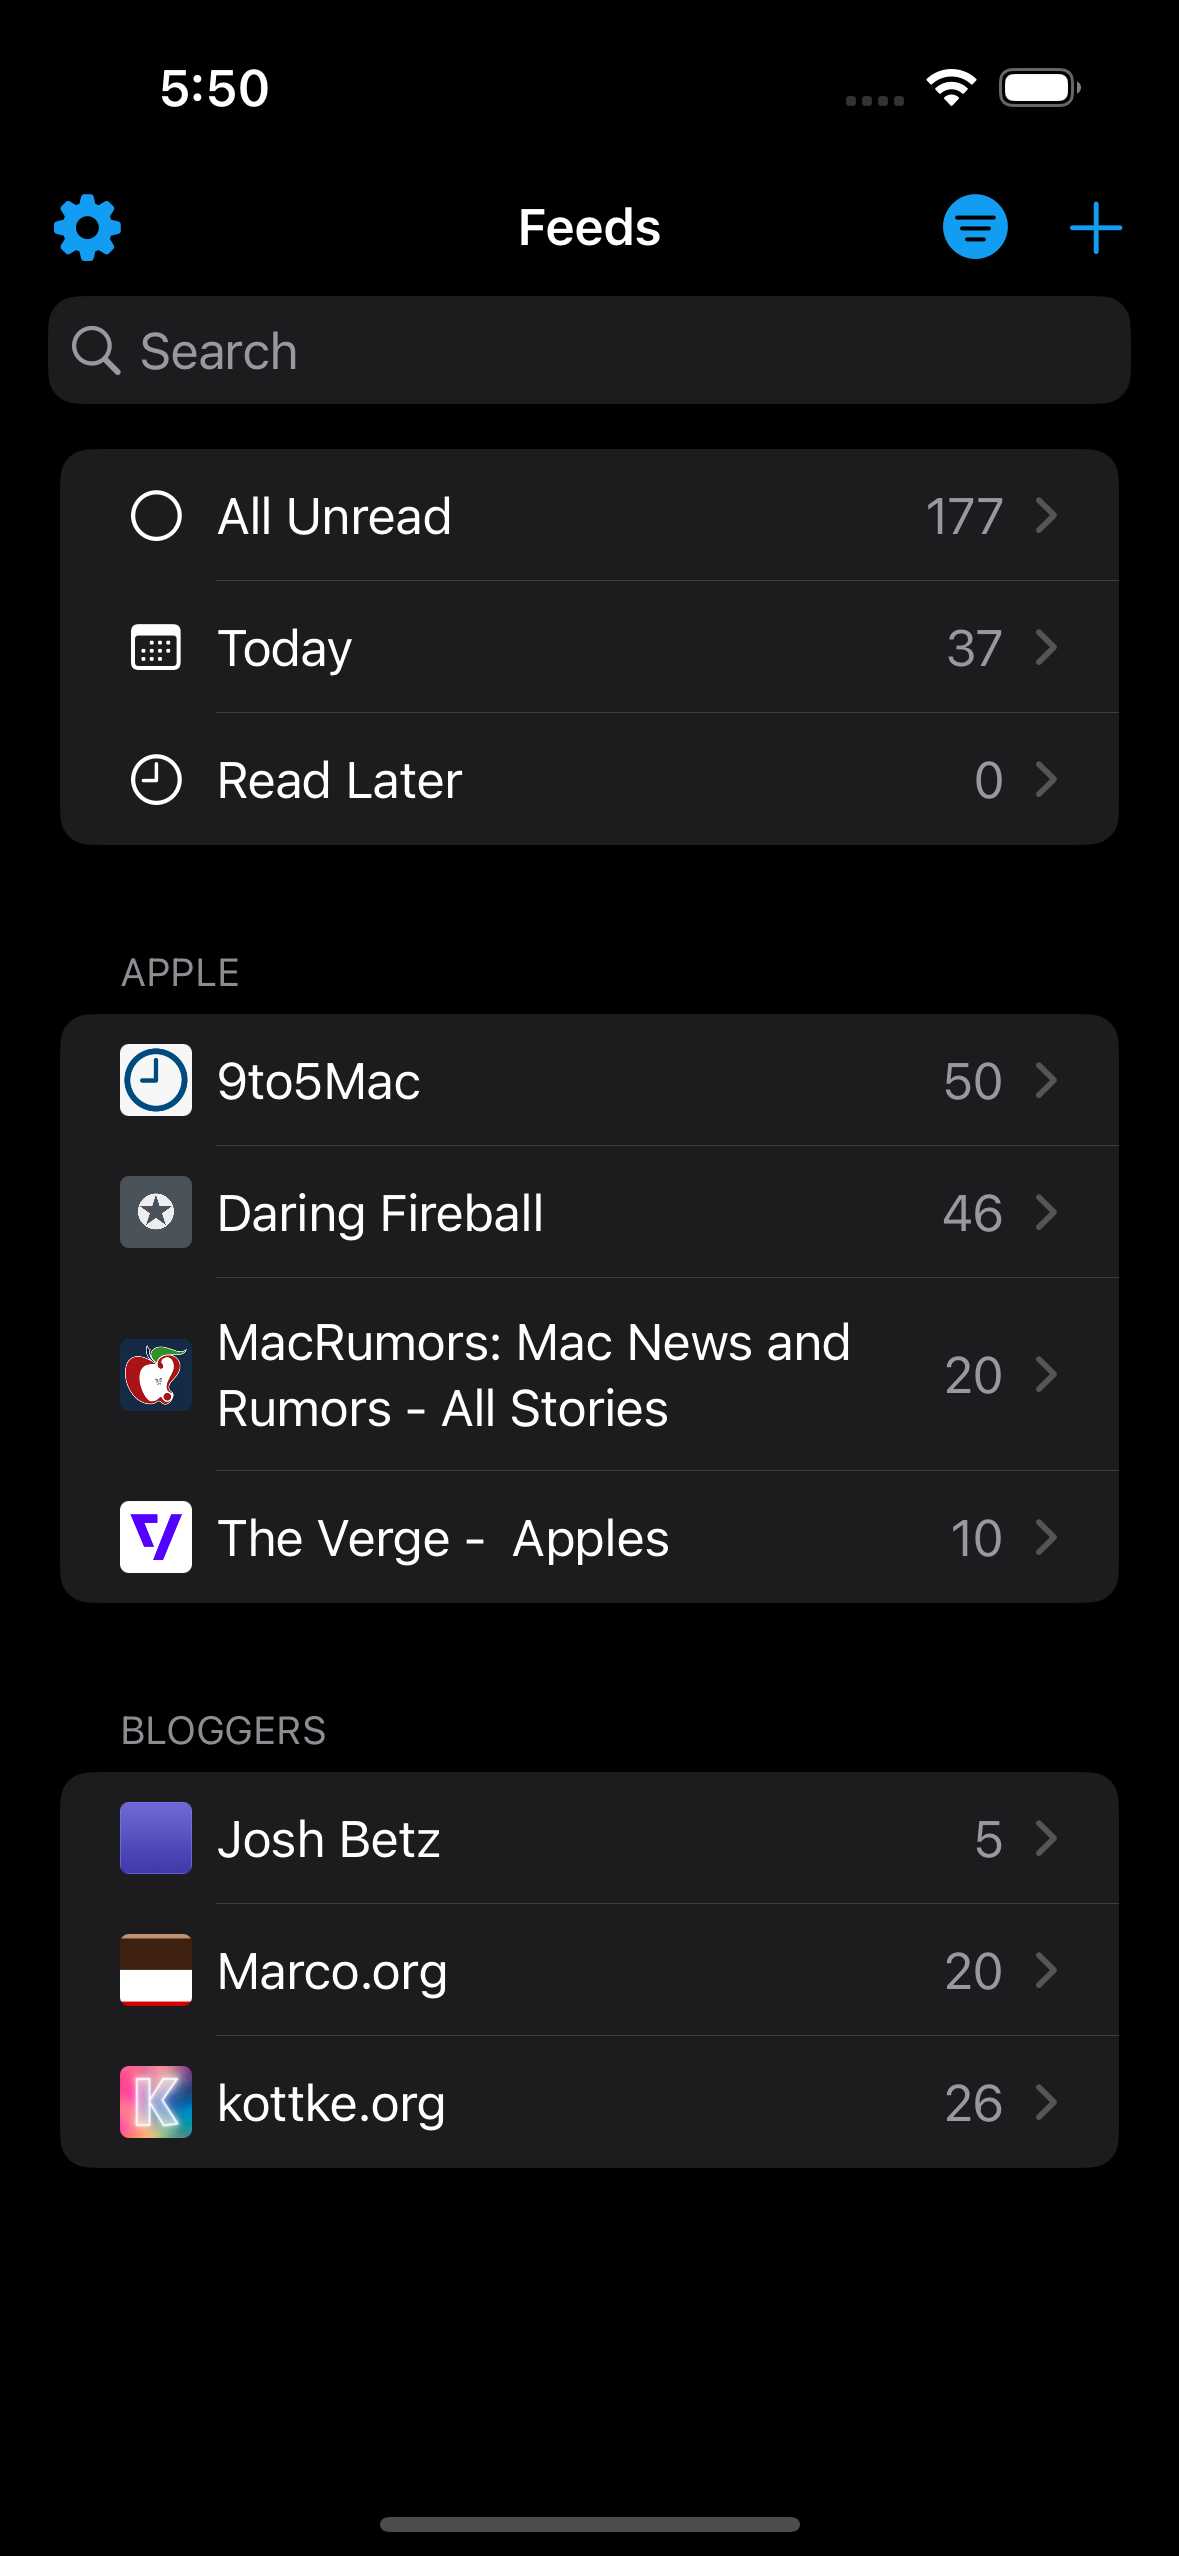
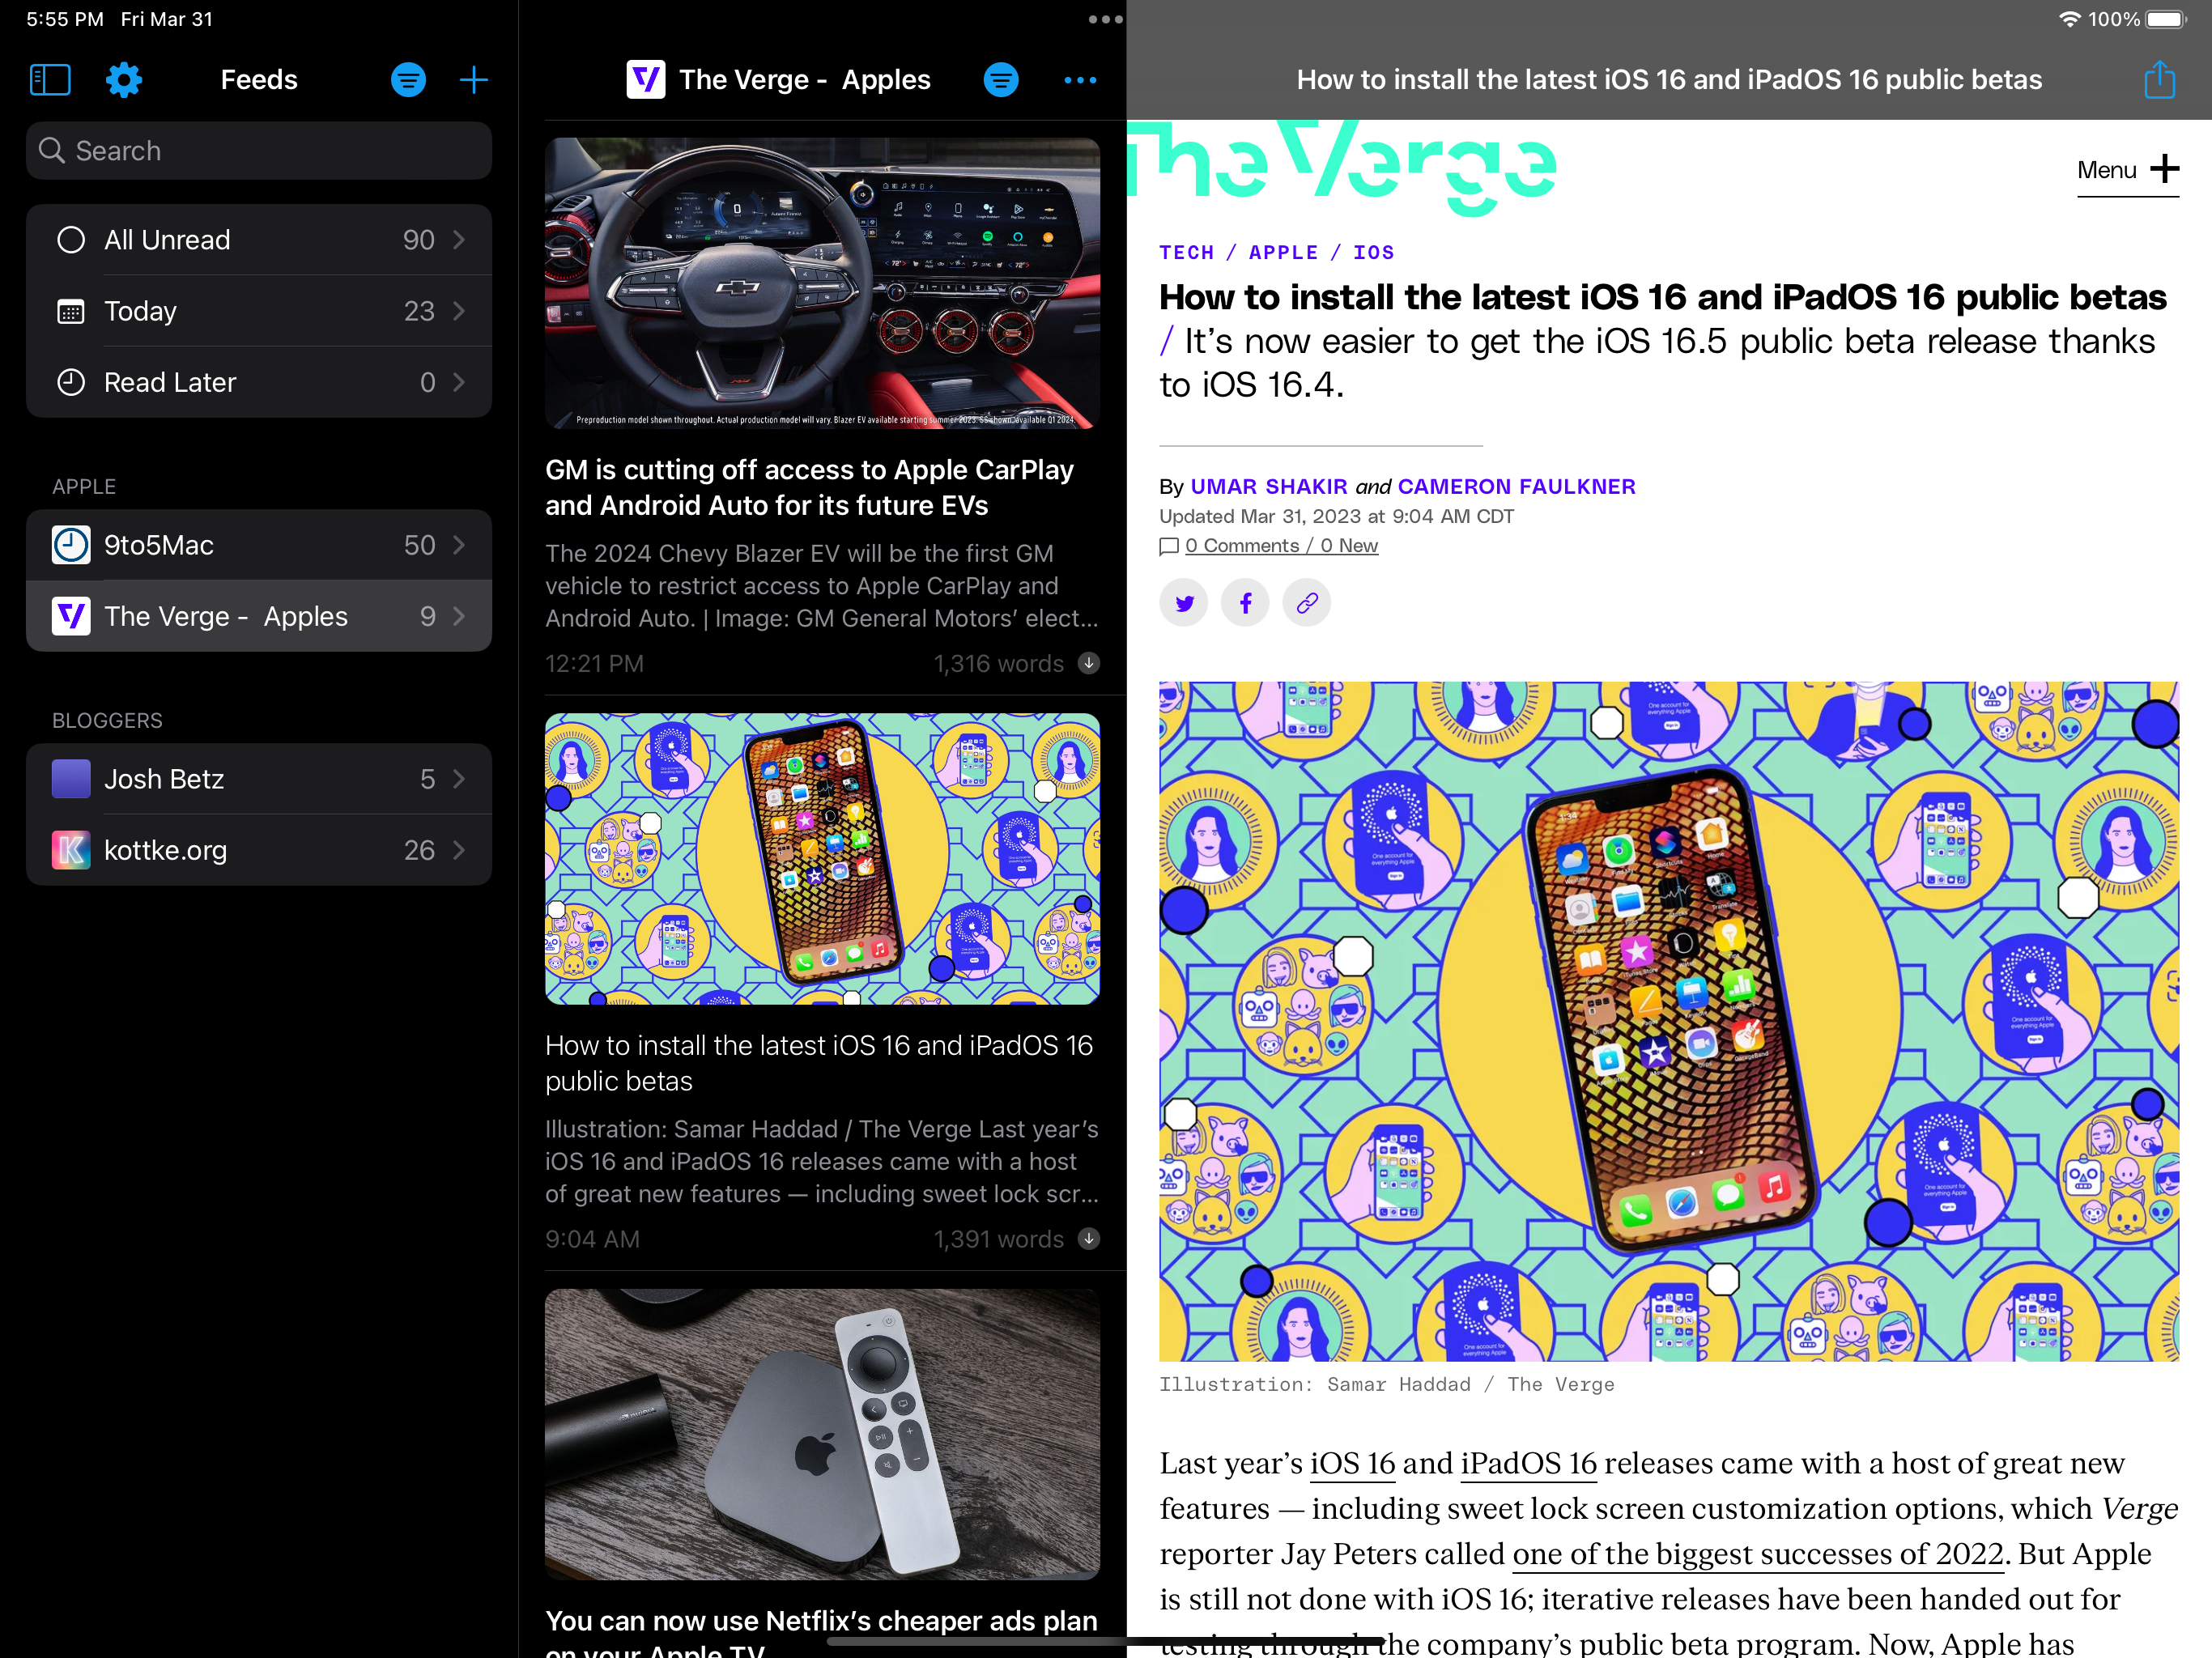
If you’re building an iOS app with webviews, you need to decide whether to use WKWebView or SFSafariViewController. The WebView version gives you a lot more control, but you can’t use Safari Extensions. On the other hand, the Safari version automatically gets some of the features of Safari like content blocking extensions, but customization options are pretty limited and it doesn’t support loading local HTML files.
In this demo, I’m going to walk through a simple Cookie Consent blocker in WKWebView using the Hush block list, a Swift library from the AdGuard team, and the WKContentRuleListStore class that was added way back in iOS 11.
First, download the Hush block list and add it to your project.
Next, load the file as a [String] that is split on newlines.
My only New Year’s resolution is to practice mindfulness every day. I have been a long-time subscriber to Headspace, but have had trouble making it a consistent habit. 🤞