In March of 2020, I finally started putting together my home office. I’ve been working from home since 2013, but for various reasons, I never put that much thought into a home office until the beginning of the COVID-19 pandemic.
A lot of this was purchased through a home office allowance that Automattic graciously provides. I’m lucky to work for a company that has always been fully distributed and understands the value of ensuring everyone has a good workspace. I know home office setups weren’t everyone’s top priority a year and a half ago.

Desk
The desk is an UPLIFT V2 with a 60″x30″ Rubberwood top. I previously had a much smaller desk with a manual crank. The manual crank was actually fine but I wanted something that was big enough for two monitors and a lamp, at least. The extra space helps it feel less cluttered, which is important for my ability to concentrate.
Desk Chair
The chair is a Herman Miller Mirra 2. I’ve had this one for over 8 years and it’s showing no signs of wearing out any time soon. I know this is a cliché, but if anything is worth spending extra money on, it’s a good chair. Your back will thank you.
Armchair
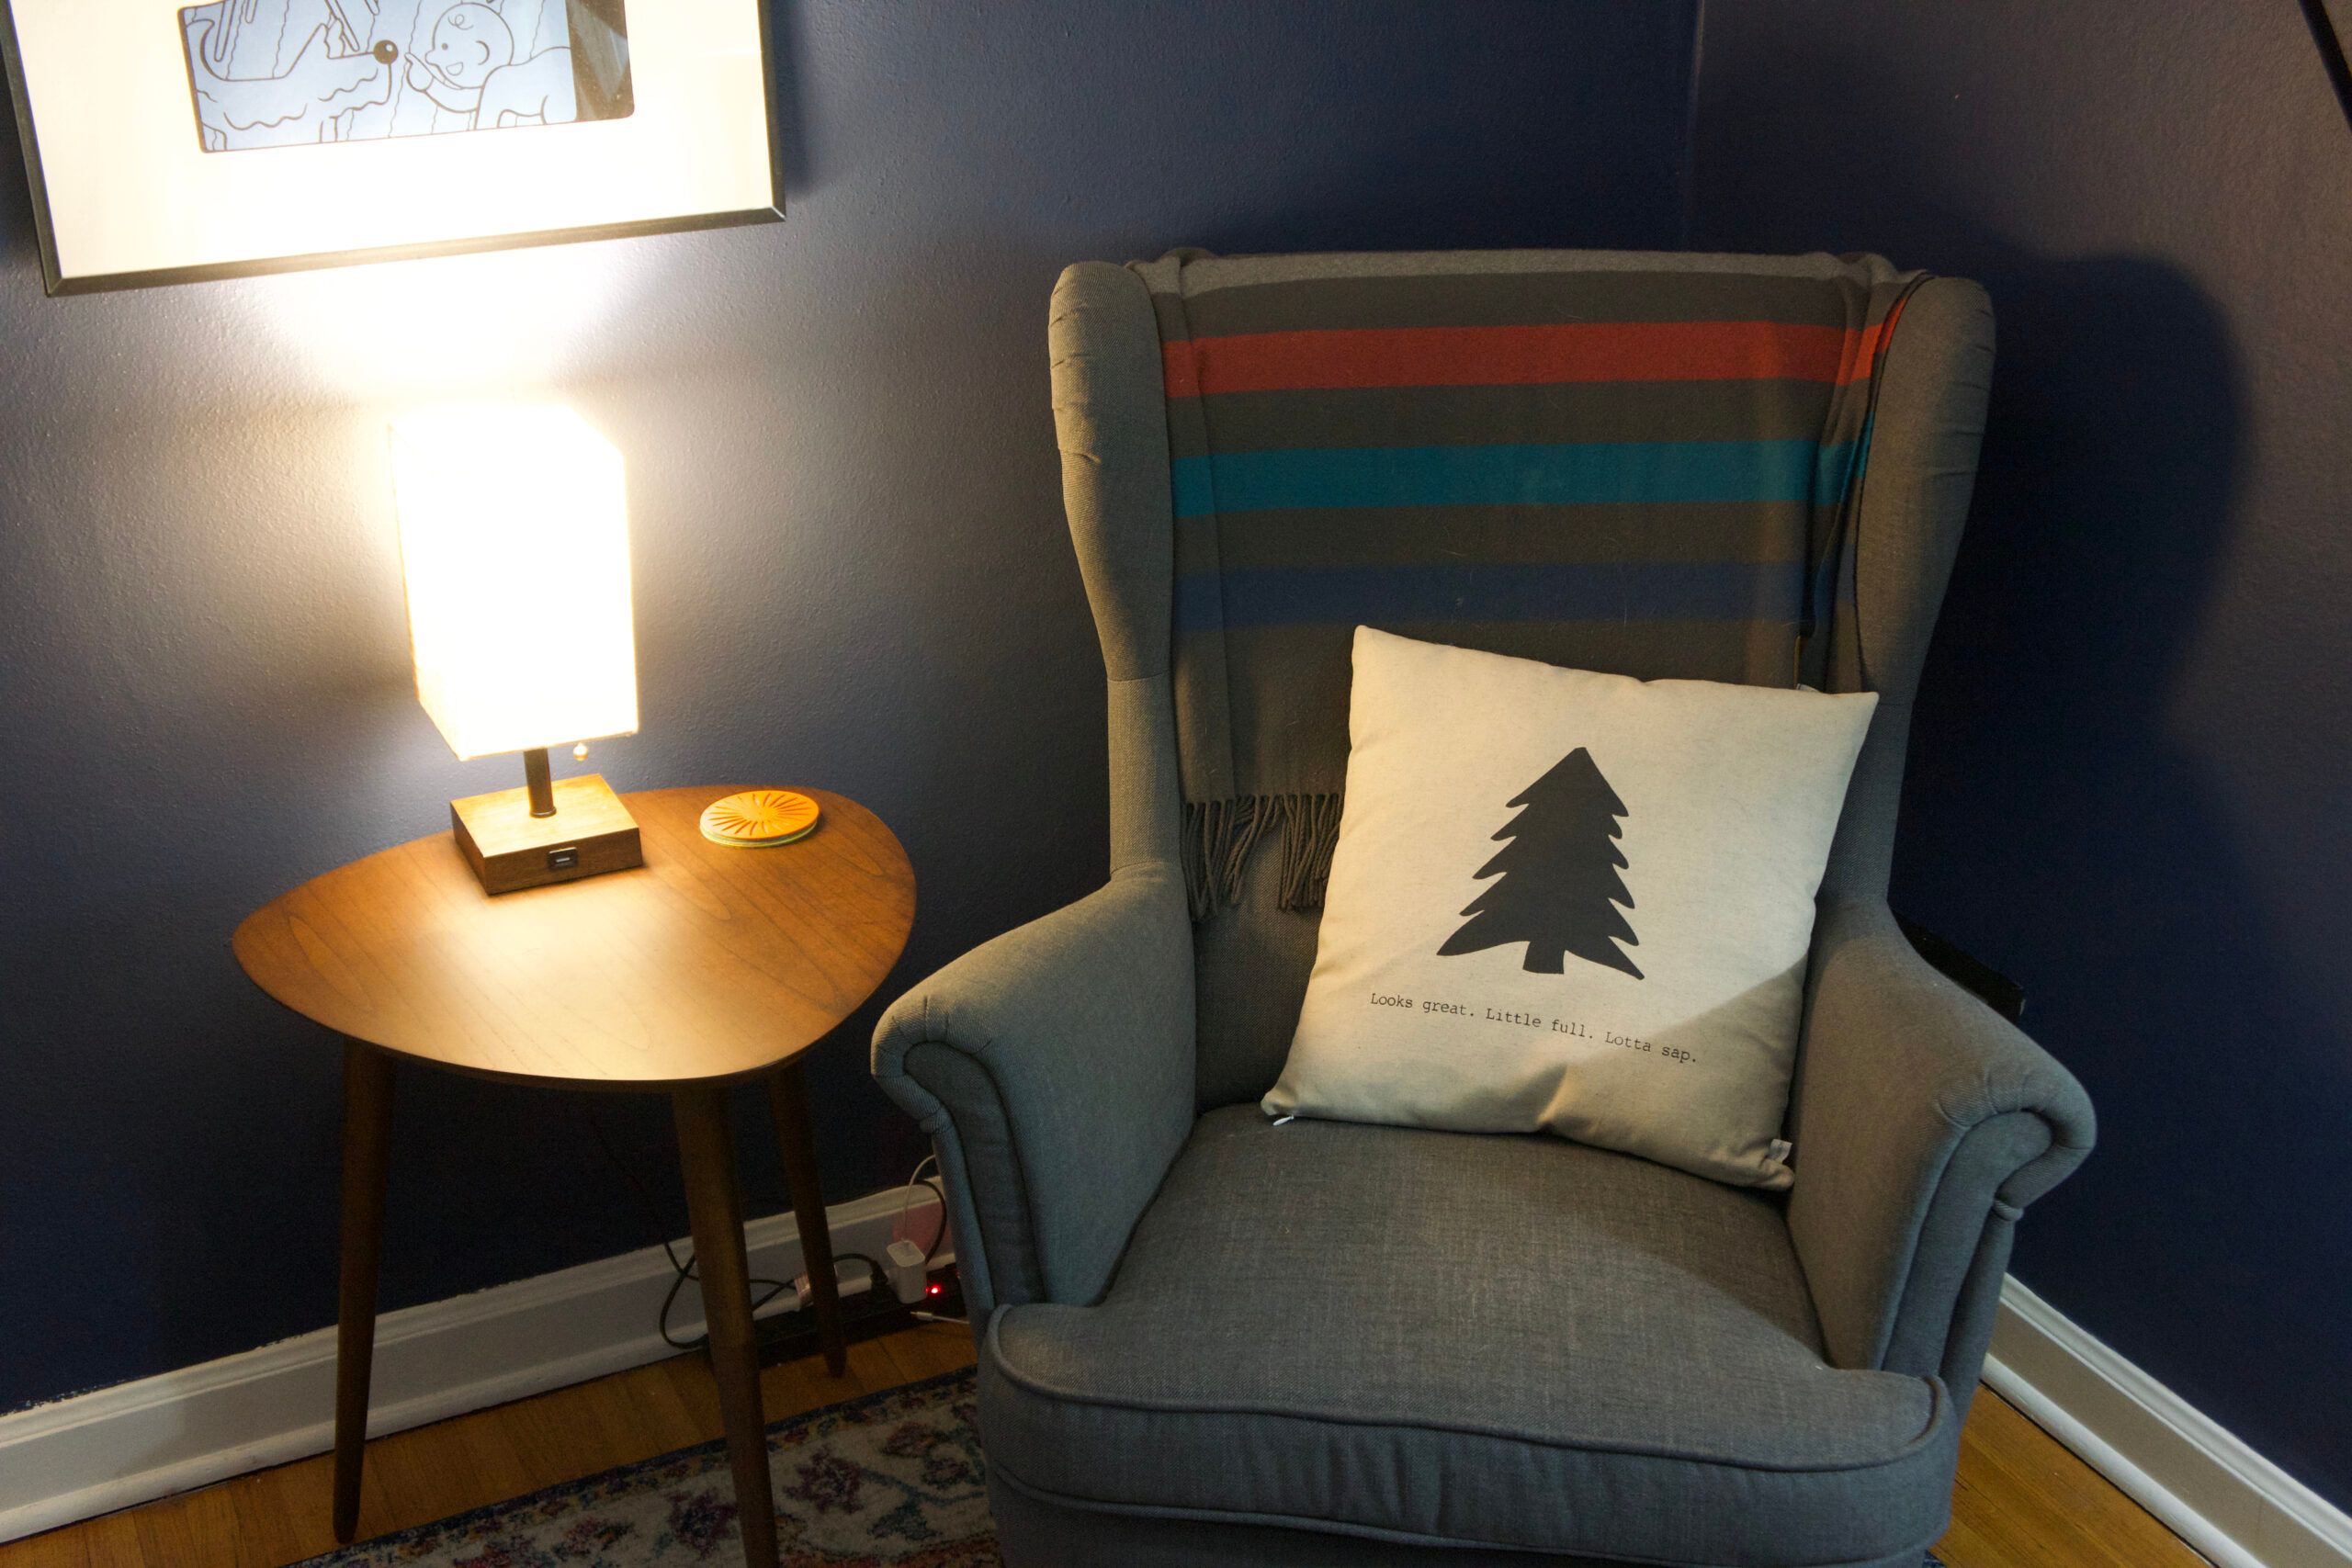
I love having a comfy armchair in my office. This was a March 2020 addition and I think it’s my favorite thing in here. (It’s definitely my dog’s favorite thing.) This is the IKEA STRANDMON. It’s the perfect place to meditate, catch up on some reading, or just find a slightly comfier place to work through a coding problem.
Displays
There are two monitors — an LG 27″ UltraFine 5K and a Dell U2417H.
The LG connects to my MacBook over USB-C, which also provides power. The Dell uses a DisplayPort to USB-C adapter. In an ideal world, I could daisy chain these monitors and just have one cable going to the MacBook. Unfortunately, the 5K version of the LG doesn’t support daisy-chaining. I added the Dell later on. It’s not high-DPI, so switching back and forth between the two displays can be a little jarring. In hindsight, I should have splurged for two 24″ 4K displays from the start.
Keyboard and Mouse
For input, I use the Apple Magic Mouse, Magic Keyboard, and Magic Trackpad combo. I had been using just the Magic Keyboard and Magic Trackpad for many years, but recently got the mouse as well. The consistency of having a Trackpad available regardless of whether I’m at my desk is nice, but I’m appreciating a mouse for the big screens. I know the Magic Mouse is a little controversial. I do a lot of navigating on the keyboard, so the ergonomics aren’t really a problem.
I’ve also tried the Keychron K2. It’s very fancy but just can’t get used to it. I really want to like it — every couple of months I take it out again. I think years of primarily using the MacBook keyboard make it easy to use the Apple keyboard compared to the slightly different layout of the K2.
Audio
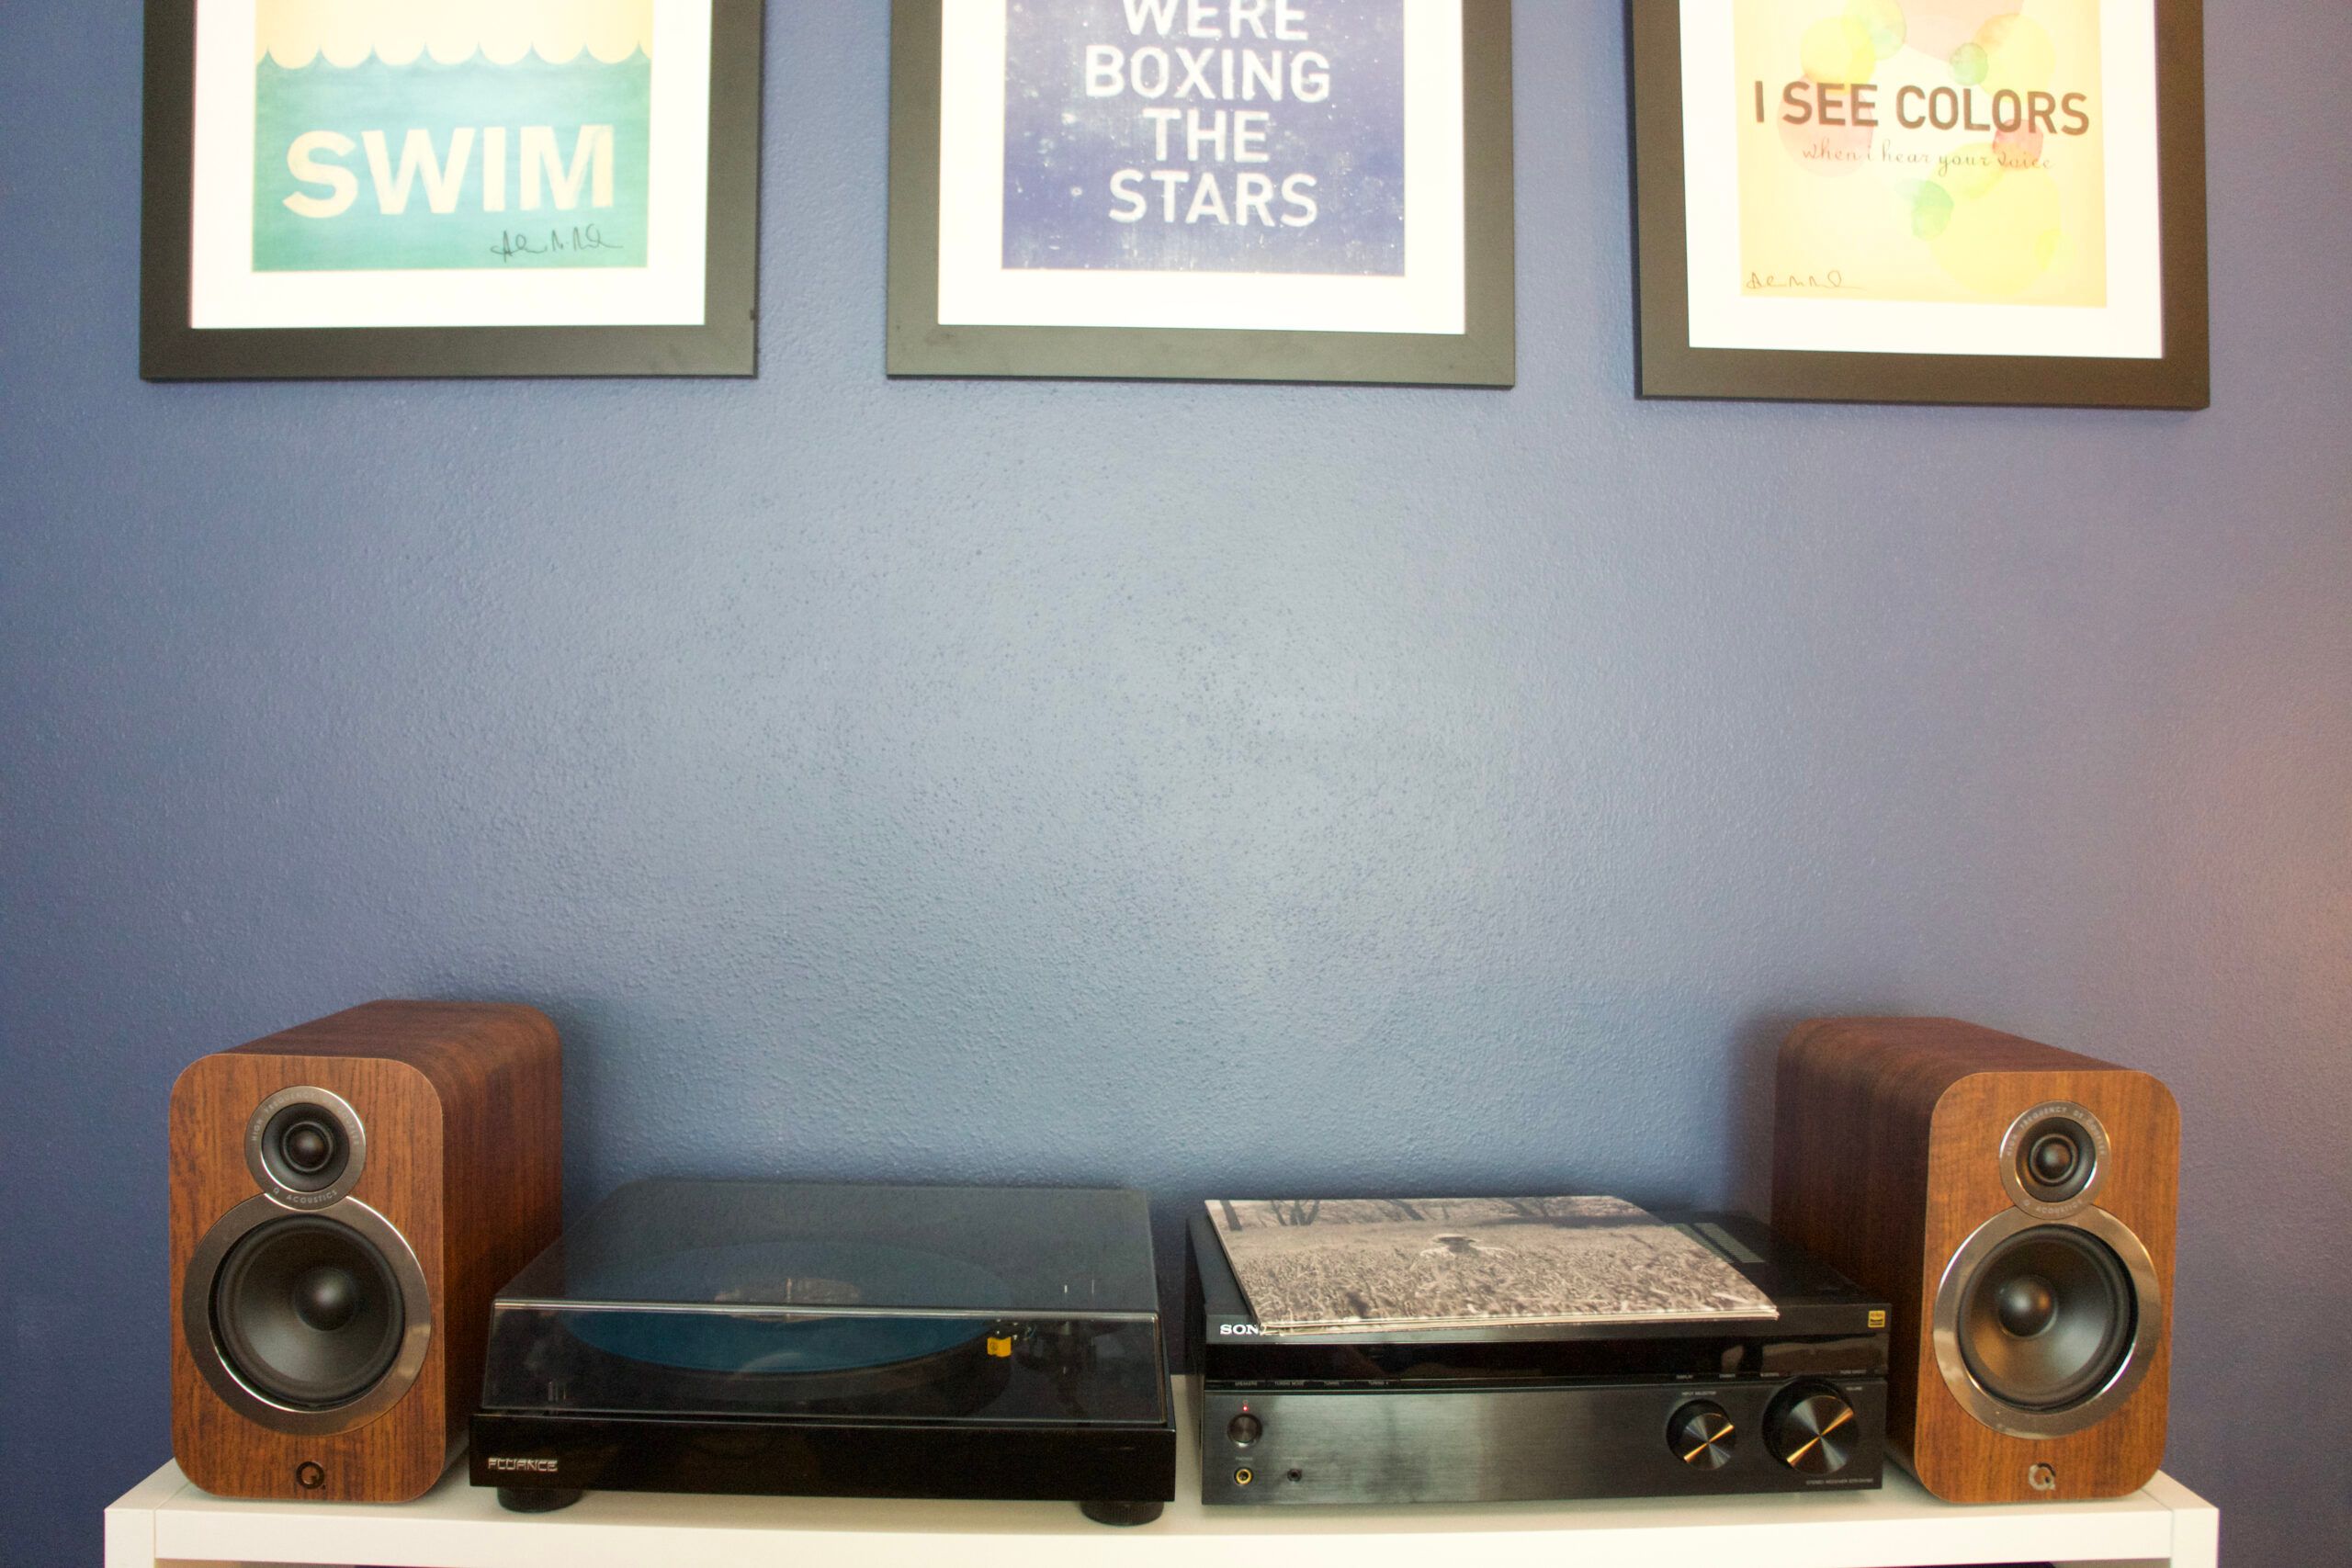
Behind the desk is a shelf with Q Acoustics 3020i Bookshelf Speakers, a Sony STRDH190 Reciever, and a Fluance RT80 Record Player. I also have an old AirPort Express plugged into the receiver so I can stream music to the speakers over AirPlay. I have a small vinyl collection and I love listening to it while I work from time to time, but it isn’t exactly compatible with the blocks of uninterrupted time needed to solve complex programming problems.
I also have a pair of WordPress-branded Sony WH-1000XM4s that are great on a plane or when I need noise-canceling to help me concentrate.
Lighting
There’s a Philips Hue Beyond lamp on the desk and another lamp in the corner with a Hue bulb. I’ve used Hue lights throughout the house for many years. With HomeKit’s Adaptive Lighting feature, they start out warm in the morning, transition to cooler colors in the middle of the day, and go back to warm colors at night. I don’t know how much this does to help with concentration, but it sounds nice.

Miscelaneous
- A plant from Wildewood, a local plant shop in Madison.
- A PUGG wall clock from IKEA.
- A fantasy football trophy.
- Prints with Andrew McMahon lyrics.
- A Martin LX1E (not pictured) for when I’m stuck on a problem and it’s too cold or wet to take a walk.
